Adobe Acrobat lets you create special signature boxes by using the “Prepare Form” option, drawing the signature box, customizing it, and saving the document.
After placing signature boxes, you can click the “Fill & Sign” button to add signers, send invitations, and track agreements through Acrobat Sign.
A leader in digital signature technology for years, Adobe makes it possible to create an electronic signature as well.
Today, we’ll take a closer look at what current options are available to you when trying to sign PDFs using Adobe products.
Let’s jump right in.
Key takeaways
- Paid versions of Adobe Acrobat (Standard, Pro, and Business) offer extensive control over PDFs, including e-signature capabilities. Prices range from $12.99 to $23.99 per month.
- Adobe’s unified digital signature technology, Acrobat Sign, uses public key infrastructure (PKI) for certified and authentic digital IDs, offering different tiers based on user needs. This tool offers the creation of different types of digital IDs (Adobe ID, Government ID, Document Signing Certificate) through the Acrobat Sign website, following on-screen instructions.
- To enable certificate-based signatures in Acrobat Sign, access “Signature settings” in your account.
- Your recipients can also request signatures, upload documents, add recipients, place signature fields, and send documents for signing. They can then sign documents using their digital ID.
Adobe Acrobat
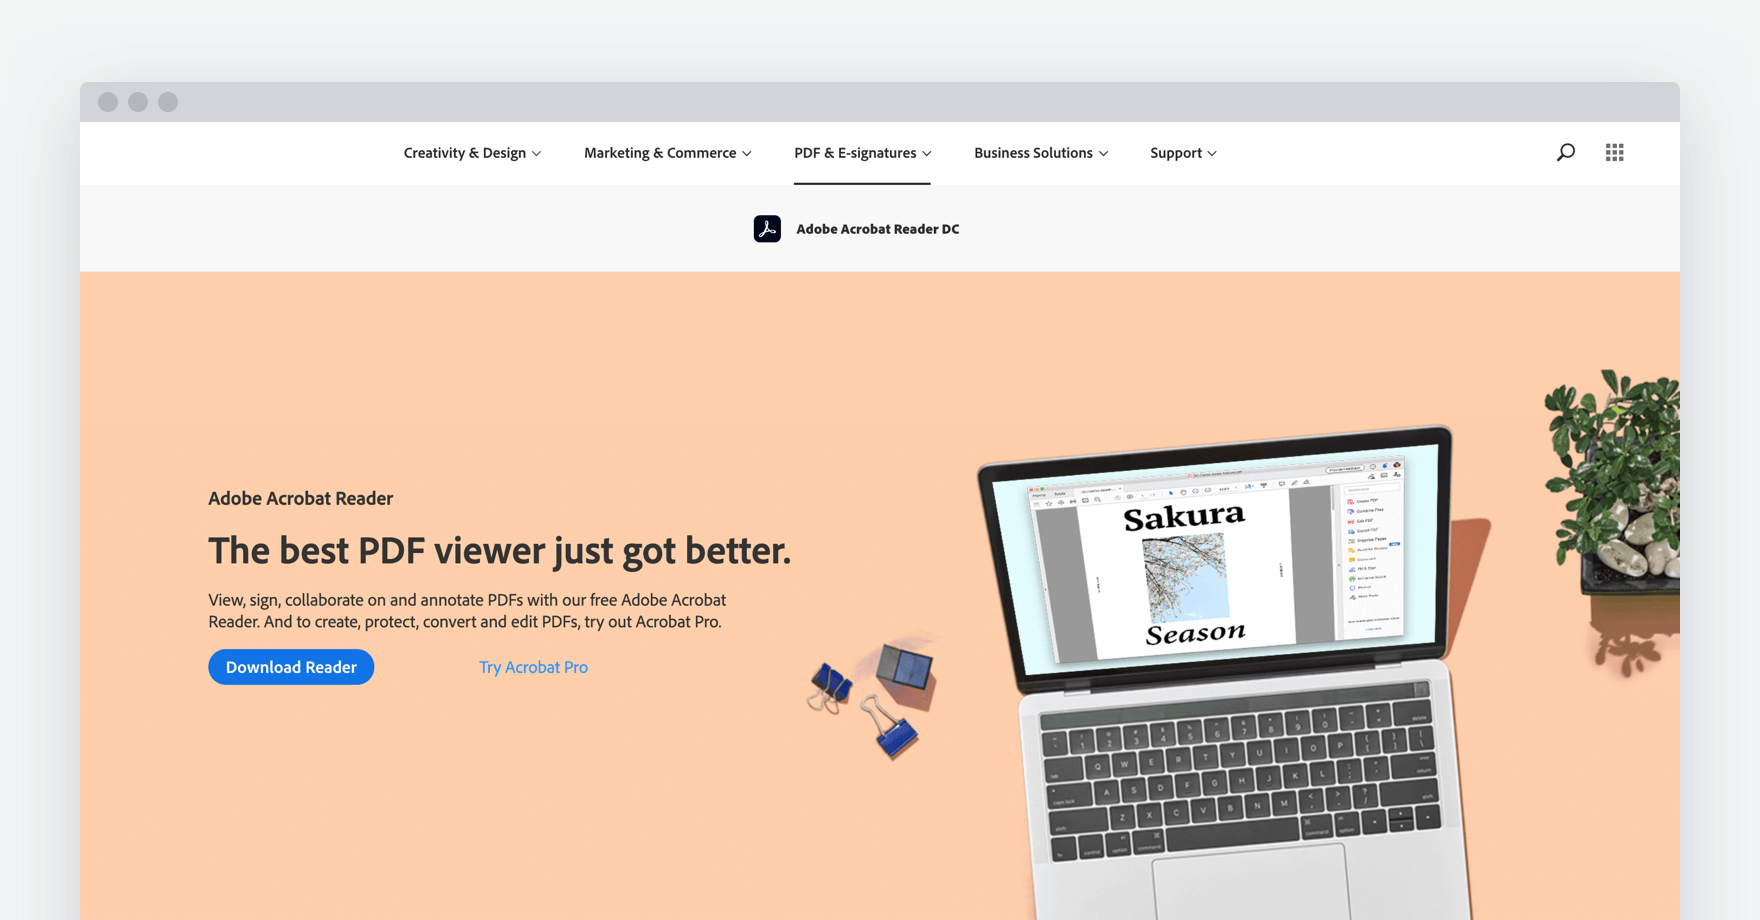
Paid is the only remaining option for Adobe Acrobat Reader, and it comes equipped with more PDF functionality than the free version did.
The famous free version known as Adobe Acrobat Reader DC or simply Adobe Reader is now excluded from the product line yet can still be found in some of Adobe tutorials (which definitely should be updated).
You can now choose between Adobe Acrobat Standard, Adobe Acrobat Pro, and Adobe Acrobat for business versions for unparalleled control over PDF documents.
The price starts from $12.99 per month for Standard, Pro costs $19.99 monthly, and the business version is priced at $23.99 per month.
Users can view, comment, print, and sign PDFs, but only the last two versions support sending bulk e-signature requests.
They can also collect feedback, create new PDFs, and export PDFs to other formats, like Word and Excel.
Acrobat connects with Acrobat Sign and their Document Cloud in order to create authentic, digital signatures.
Placing signature boxes into your PDF documents
The first thing you’ll need to do is to place special signature boxes inside your PDF document.
Start with opening a PDF file you need e-signed in Acrobat.
Then, find the “Tools” tab in the upper left corner, and click on it.
Here you should find and click the “Prepare Form” option. In case you don’t see it, check “More Tools.”
Then you’ll be prompted to choose the document you want to edit. Select it and then click “Start.”
Once the document is loaded, click on the “Add Field” button. Next, choose “Digital Signature” from the dropdown menu.
Finally, you need to draw the signature box in your document.
Click and drag to draw the rectangle where you want the signature box to appear. You can adjust the size by dragging the handles.
To customize the box, right-click on it and choose from available options: name the field, set its appearance, add actions, and more.
You can also set signing restrictions on who can sign the document, or require a specific signature type.
Now it’s all set and ready. Click “File” > “Save” to save the changes.
If you want to send the document for an e-signature, you can use the “Send for Signature” tool in Acrobat.
Getting your PDF signed by recipients
After you finish placing signature boxes within your PDF document, you’ll click on the “Fill & Sign” button within Acrobat.
From there, you can add any number of email recipients as you add signers, determine modes of authentication, compose a message, and send invitations to complete your signed document.
Once that is finished, all you need to do is wait for signers to complete their tasks.
If you’d like to track the agreements that you’ve sent for signature(s), you can do so under the dropdown menu in the “Home” section of the page.
When you navigate to that section, you’ll notice a blue button that says “Open in Acrobat Sign.”
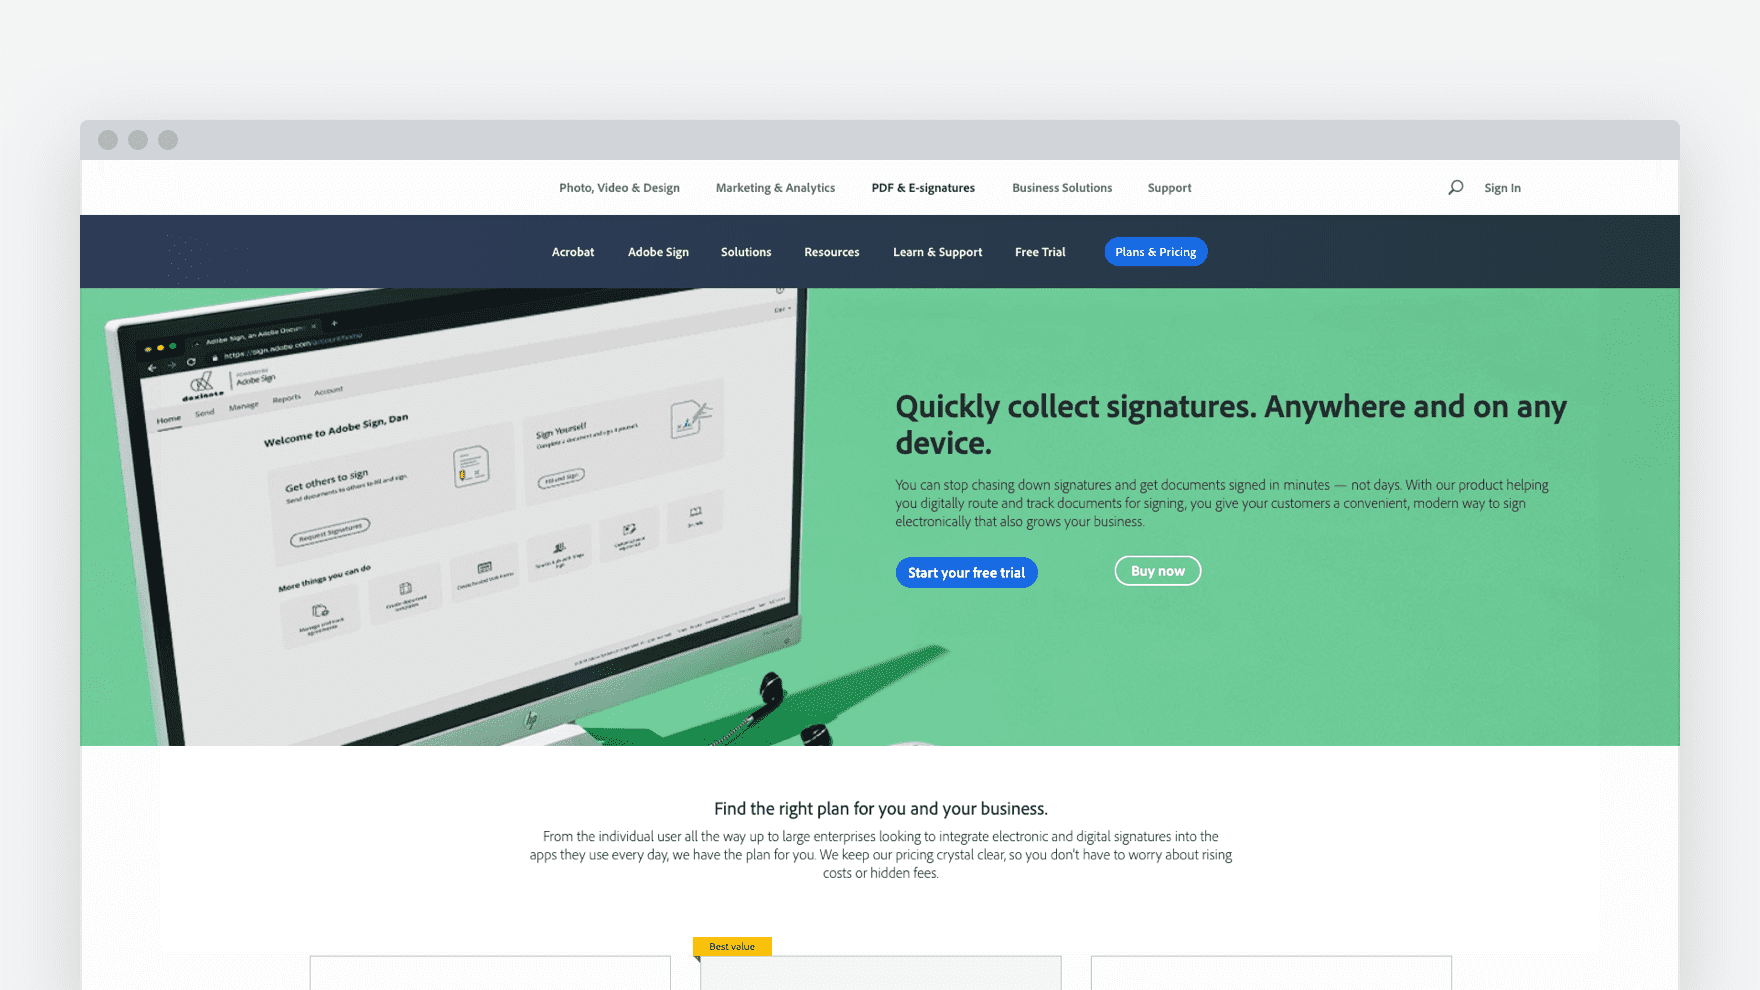
Clicking that button will take you to Acrobat Sign, the software technology that powers everything we’ve talked about so far.
Creating a self-signed digital ID
Let’s find out how to authenticate your digital documents and securely sign documents on your side using Acrobat.
Open a required document, then go to the “Tools” panel.
Select “Certificates” or look for a “Sign & Certify” option, depending on your version of Acrobat.
Then, click on “Digitally Sign” or a similar option to initiate the signing process and place the area where you want to place the signature if needed.
In a dialog box that will appear, choose “Create a new Digital ID” and click “Next.” Select “New PKCS#12 digital ID file” or a similar option for a self-signed ID.
Next, fill in the data which will be used to identify you: name, email address, job title, organization name, and country/region.
Create and confirm the password and make sure to remember it or store it securely.
After that, choose a location to save the digital ID file (with a .pfx or .p12 extension). Finally, click Finish or Save.
Now that you know how to sign and capture electronic signatures using Adobe’s premiere PDF product, it’s time to address Acrobat Sign in full.
Adobe Acrobat Sign
If you browse the Adobe website, the battery of product offerings under the “PDF & E-signatures” dropdown menu can get confusing.
There are so many options that it’s difficult to tell what might be the best fit for users.
However, when it comes to electronic signatures, Adobe has taken major steps over the last few years to house its digital signature technology under one roof.
That’s Adobe Acrobat Sign, and Adobe has slowly replaced all of its separate systems with this one technology solution.
Signatures captured through Adobe Acrobat Sign are different from signature files attached to a document.
While you can still submit an image of your signature when using Acrobat Sign, the real power behind it comes from the digital ID files that are created when signing.
Acrobat Sign uses public key infrastructure (PKI) to ensure that all digital IDs are certified and authentic before a document is distributed.
This additional layer of security is what makes signatures captured through Acrobat Sign authentic and legally binding.
Just like Acrobat, Acrobat Sign offers tiered versions of the software based on your needs.
At the basic level, users can request electronic signatures, get reminders, and prepare PDF forms.
At higher levels, users can collect online payments, integrate with other software, and design specific workflows.
But the foundation of the entire platform comes down to digital signatures.
If you or your business connects with Adobe through any software with the intent to use it for digital signature capture, all roads eventually lead to Acrobat Sign.

Obtaining a new digital ID
To obtain a new digital ID, go to the Acrobat Sign website and sign up for an account if you don’t already have one.
Then, click on “Account” in the top right corner. In the left menu, click on “Identity” under the “Settings” section.
To add an ID, click the “+Create ID” button on the identity page.
Now, you have to choose the type of ID from the next options in the opened dialog box:
- Adobe ID — a basic digital ID tied to your Adobe account;
- Government ID — verifies your identity by validating information against public records;
- Document Signing Certificate — an advanced digital ID issued by a certificate authority.
Then, follow the on-screen instructions to provide your information based on the type of ID you selected.
These instructions may contain verifying your identity by uploading a government-issued ID.
Once your identity has been validated, your digital ID will be created and added to your account.
This ID will appear as a signing option when you open documents to sign through Adobe Acrobat Sign.
Configuring Acrobat Sign for certificate-based signatures
The next step is to configure your Acrobat Sign for certificate-based signatures.
Once logged in, go to account settings by clicking on your profile picture.
Then, open “Signature settings” and enable the certificate-based signature option.
Preparing the document for signing in Acrobat Sign
Once you’ve finished the previous steps, you should make all the required preparations for signing your document in Acrobat Sign with certificate-based signatures.
Start by clicking on “Request Signatures” and uploading the document you want to be signed.
Then, add recipients by entering their emails.
After that, you need to place the fields for electronic signatures by dragging and dropping them where you want the recipients to sign.
If available, you also have to configure the signature options to require certificate-based signatures.
That’s almost it — you just have to send your document for signing. Before that, you have the option to add a message for recipients.
It’s non-mandatory, but a rule of good etiquette is to add a message. Next, click “Send” and wait for the recipients’ action.
Signing the document with a certificate-based signature
To sign the document with a certificate-based signature, open the email with the corresponding request, find a link to the document, and click this link to open it.
Then, click on the signature field to sign and choose the digital ID you want to use for the signature.
After that, click sign to apply the certificate-based signature.
To finalize the action, follow additional instructions in the dialog box to save or confirm the signature.
After signing, you can click on the signature to verify it.
This will show details about the signature, including the signer’s identity and whether the document has been altered since signing.
Sign documents even faster with PandaDoc
As you might expect, Acrobat Sign isn’t the last word when it comes to collecting electronic signatures online.
While Adobe is an excellent platform when it comes to editing PDFs or transforming them into other file types, PandaDoc can help you create documents from scratch and get them signed at lightning speed.
Using the PandaDoc editor, you can build user-friendly documents — including those with your own customized signature blocks — without paying for expensive software (like Adobe InDesign), and keep all documents editable throughout the signing process.
If your customer has objections to a contract, or if you need to revise an invoice before collecting payment, it’s easier than ever to update your documents using PandaDoc.
Sign up for a free 14-day trial and see what you can build with PandaDoc!
Disclaimer
Parties other than PandaDoc may provide products, services, recommendations, or views on PandaDoc’s site (“Third Party Materials”). PandaDoc is not responsible for examining or evaluating such Third Party Materials, and does not provide any warranties relating to the Third Party Materials. Links to such Third Party Materials are for your convenience and does not constitute an endorsement of such Third Party Materials.